Create your first customizable product
Create a Chamevo product, add views, configure elements in the Product Builder, and preview the product customizer.
A Chamevo product defines the customization experience your customers see — which surfaces they can design on, which elements they can interact with, and what rules apply. This guide walks you through creating a product, adding views, and previewing it.
Before you start
- Chamevo is installed and your license key is activated (see Activate your license key).
- You have a product image ready — the background image customers see while customizing (e.g., a blank t-shirt, phone case, or mug photo).
Create a new product
- In your WordPress admin, go to Chamevo > Products.
- Click + New Product.
- Enter a product title (e.g., "Custom T-Shirt" or "Personalized Phone Case").
- Click Create Product.
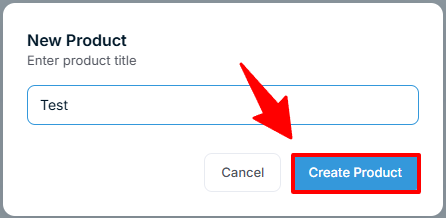
The product is created with zero views. You add views next.
Add views
Views represent different customizable surfaces of your product — the front of a t-shirt, the back, or a sleeve.
- In the product listing, click Add View on your new product.
- Enter a view title (e.g., "Front") and confirm.
- The view appears nested under the product. Click its thumbnail placeholder to upload the product image for that surface.
- Repeat for additional views (e.g., "Back", "Left Sleeve").

Most products start with one or two views. You can always add more later.
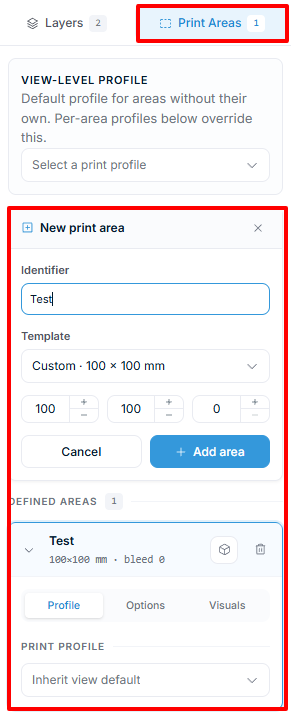
See Set up product views for detailed configuration of view options, print areas, and 3D model assignments.
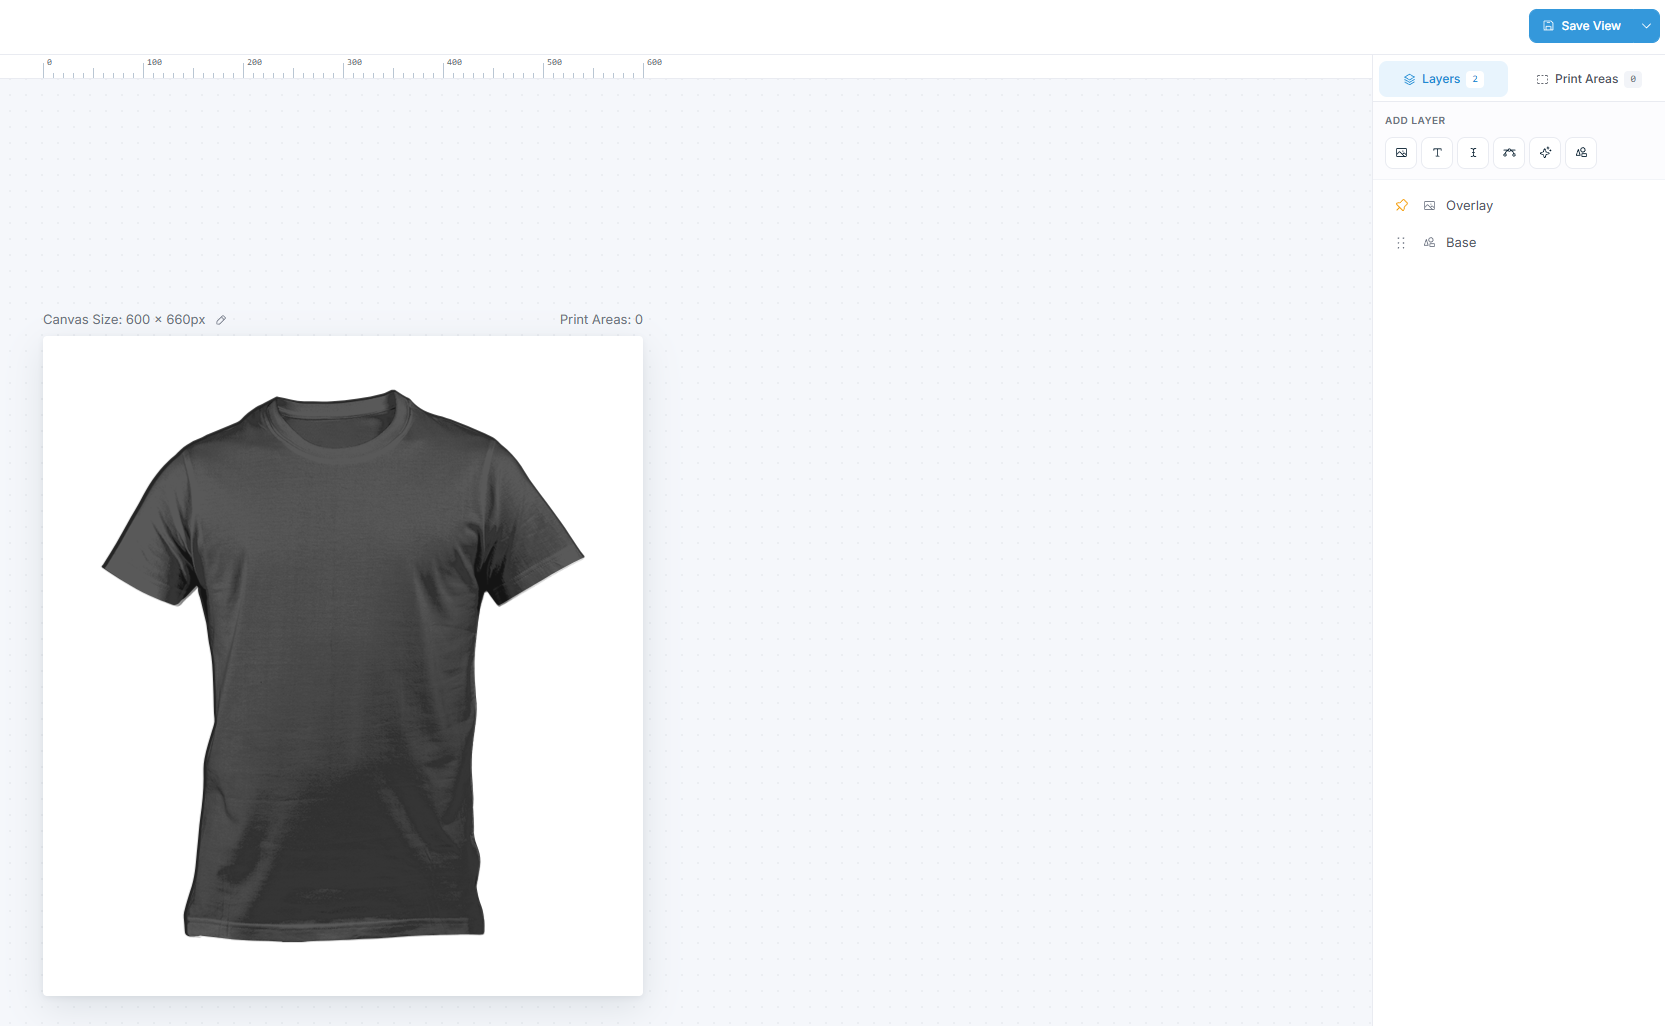
Open the Product Builder
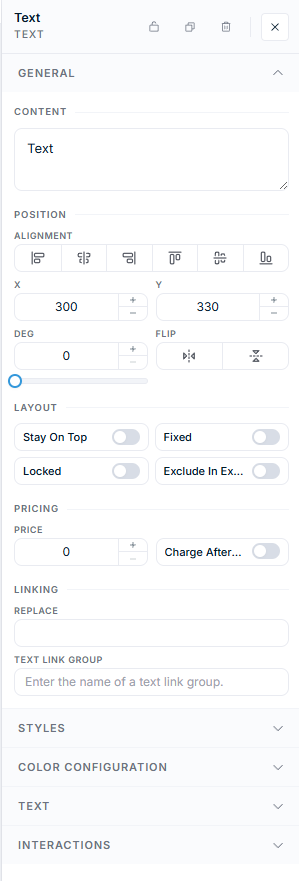
The Product Builder is where you design the customization experience — add elements, set boundaries, and configure permissions.