Link a Chamevo product to a WooCommerce product
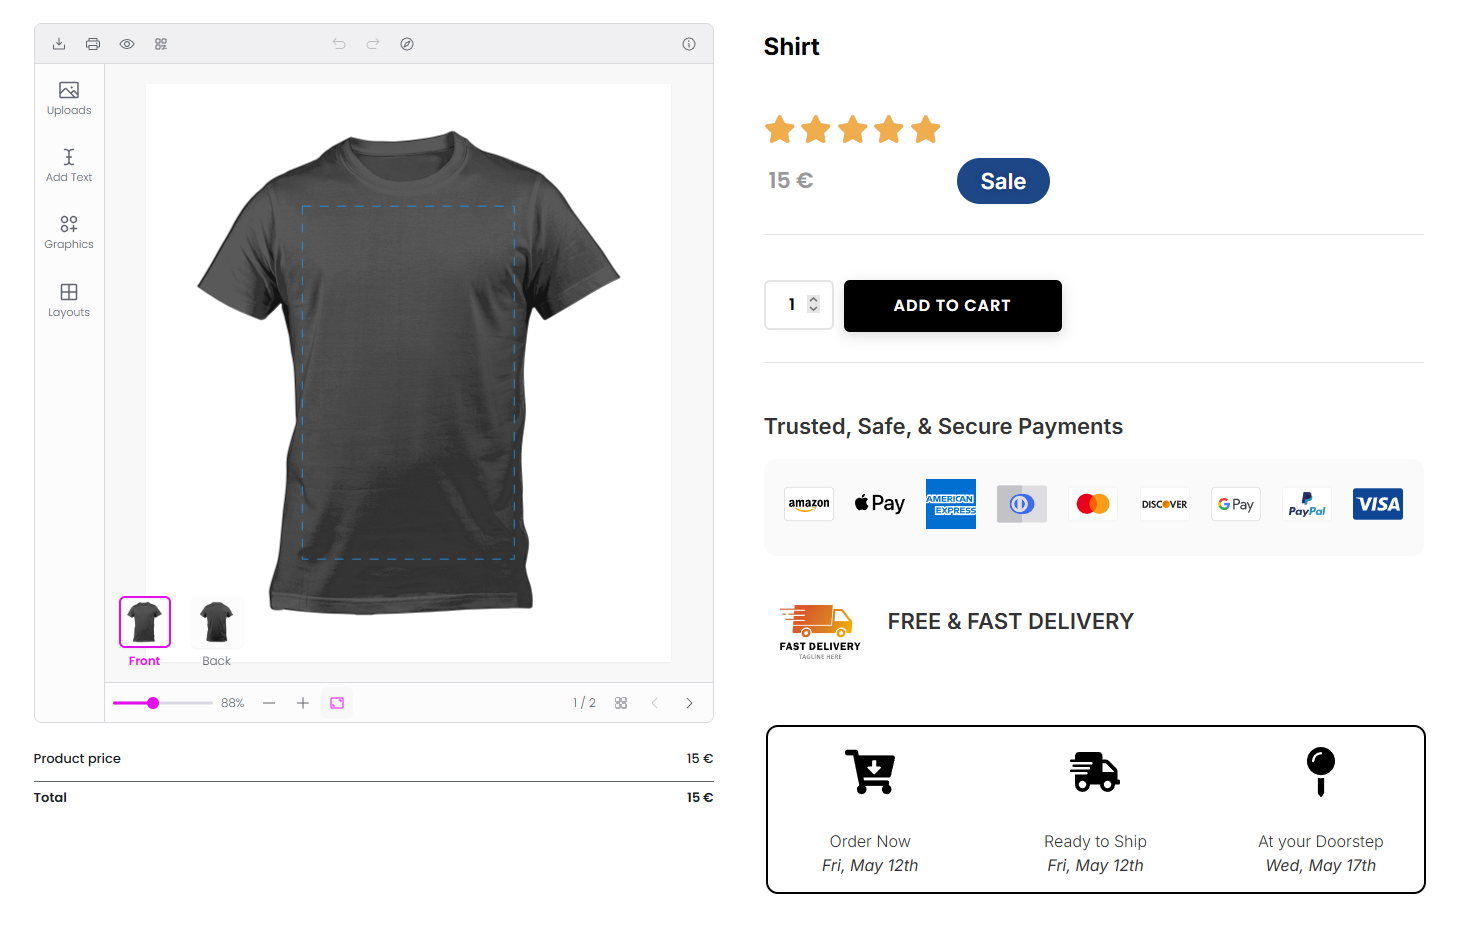
Connect a Chamevo product to a WooCommerce product so the product customizer appears on your store's product page.
After building a customizable product in Chamevo, you need to link it to a WooCommerce product so the product customizer appears on your store's product page. This guide covers the connection process, the Chamevo panel on WooCommerce products, and mobile product assignment.
Before you start
- You have created a Chamevo product with at least one view and elements (see Create your first customizable product).
- WooCommerce is installed and activated.
- You have a WooCommerce product to connect to (or will create one).
Connect using the Chamevo panel
Every WooCommerce product editor has a Chamevo meta box panel on the right side. This is where you assign Chamevo products.
- Go to WooCommerce > Products (or Products if using the new WooCommerce product editor).
- Open an existing product or click Add New to create one.
- Fill in the standard product details — title, description, price, images.
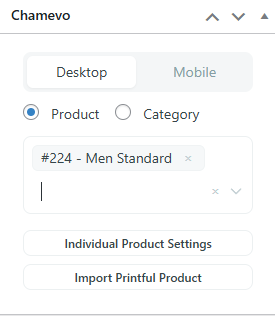
- In the Chamevo panel on the right side of the editor, configure:
Source type
Choose how the product customizer loads its content:
- Product — assign one or more specific Chamevo products. If you assign multiple products, customers can switch between them in the product customizer (e.g., different starting designs).
- Category — assign a Chamevo category. All products in that category are available in the product customizer.
Desktop assignment
Select the Chamevo product(s) or category that loads when a desktop visitor views this page.
Mobile assignment
Select a different Chamevo product for mobile visitors. This is useful because 70-80% of your customers shop on mobile — you may want a simpler layout with fewer elements or a more touch-friendly design for smaller screens.
If no mobile product is assigned, the desktop product is used on all devices.
- Click Publish (or Update) to save.