Set up product views (front, back, sides)
Add, configure, and order product views to represent each customizable surface of your product.
A view represents one customizable surface of a product — the front of a t-shirt, the back of a phone case, or a single side of a mug. Each view has its own canvas, background image, elements, and optional print area configuration.
Before you start
- You have created a Chamevo product (see Create your first customizable product).
Add a view
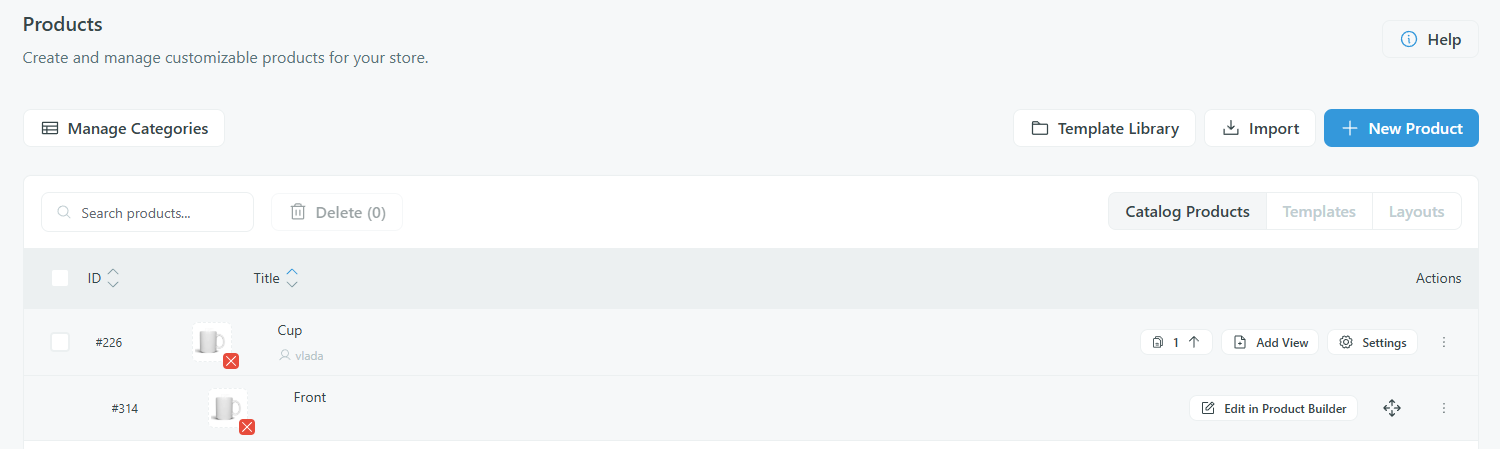
- Go to Chamevo > Products.
- Click on your product to expand it.
- Click the + button.
- Enter a view title (e.g., "Front", "Back", "Left Sleeve", "Inside").
- Upload a thumbnail image for the view. This thumbnail appears in the view switcher customers use to navigate between surfaces.
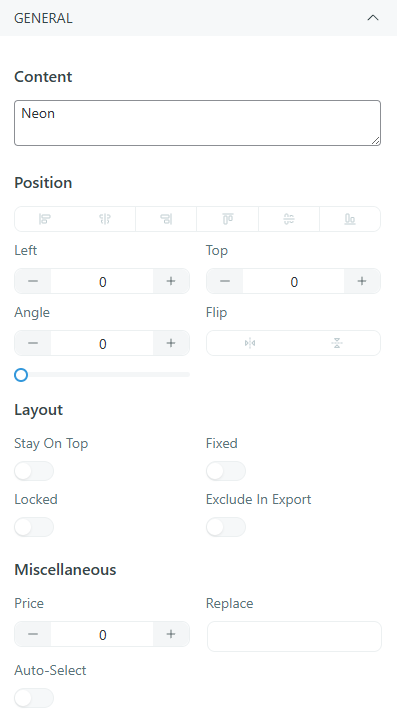
Configure view settings
Each view has its own settings that you configure in the Product Builder. Open a view in the Product Builder to access its options.
Background image
The background image is the product photo customers see while designing. It defines the visual context for the canvas.
- Use a high-quality, straight-on photo of the product surface.
- Transparent backgrounds (PNG) work well if you want the canvas background to show through.
- The image scales to fit the canvas dimensions.
Canvas dimensions
The canvas dimensions control the working area size. Elements are positioned relative to these dimensions. You can set:
- Width and Height in pixels for the canvas.
- The canvas auto-resizes to fit the viewer''s screen by default (the
responsivesetting).
Print area
A print area defines the region on the canvas that maps to the physical printable area on your product. Configure:
- Printing box — the pixel coordinates and dimensions of the print area on the canvas.
- Output dimensions — the physical size in millimeters. This tells the export engine how to scale the canvas content to real-world dimensions.
- Bleed zone — extra area around the print area for bleed in print-ready files.