Set up print areas in the Product Builder
Define the exact printable region on each product view so Chamevo generates correctly sized, export-ready files for your printer.
A print area marks the region on your product canvas that maps to the physical printable surface. When a customer customizes the product and places an order, Chamevo uses the print area to crop and scale the design to the correct output dimensions for your printer.
Every view can have one or more print areas. Products that need image uploads — such as photo books or multi-panel canvases — typically use one print area per panel.
Before you start
- You have a Chamevo product with at least one view (see Set up product views).
- You know the physical print dimensions for your product (width × height in millimeters, and bleed if required by your printer).
- You have a high-resolution background image for the view so you can position the print area accurately.
Add a print area to a view
- Go to Chamevo → Products and open your product.
- Click the view you want to configure.
- In the Product Builder, select the view settings panel.
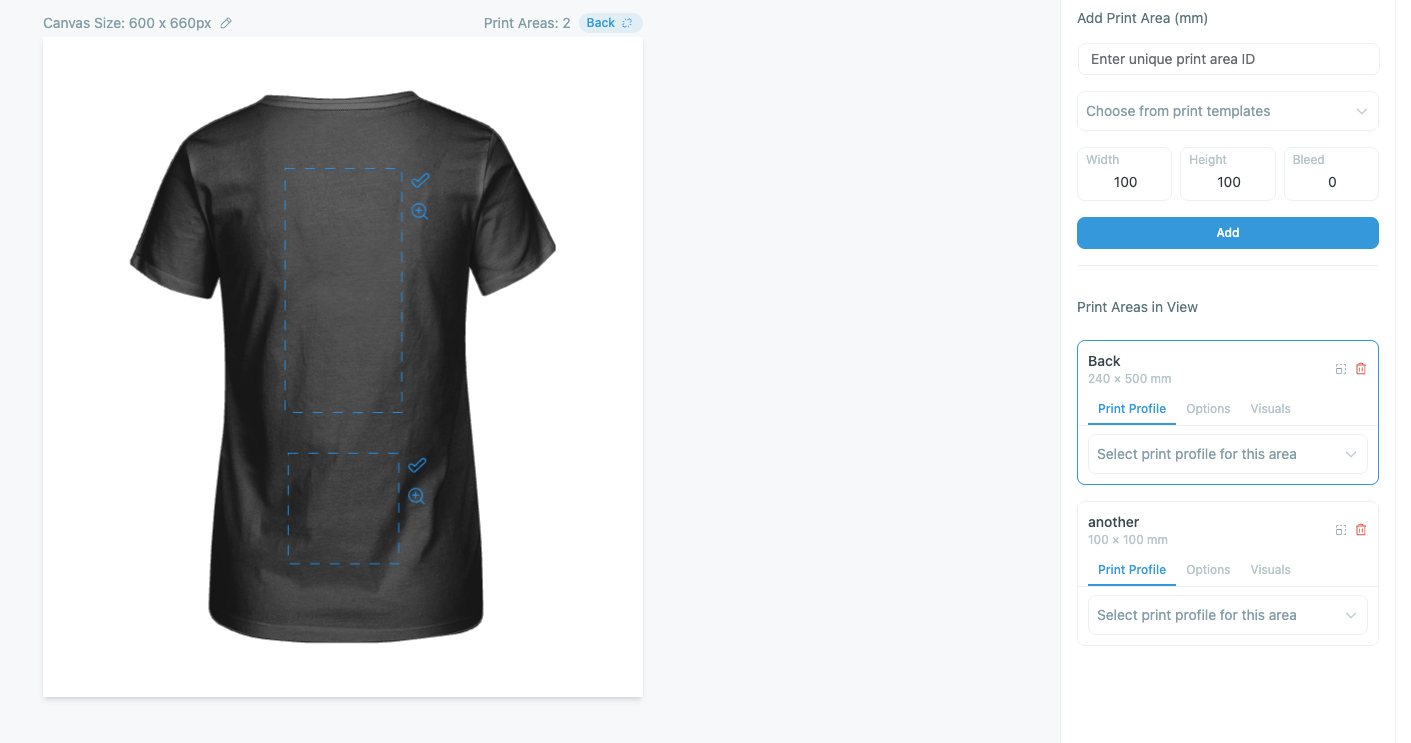
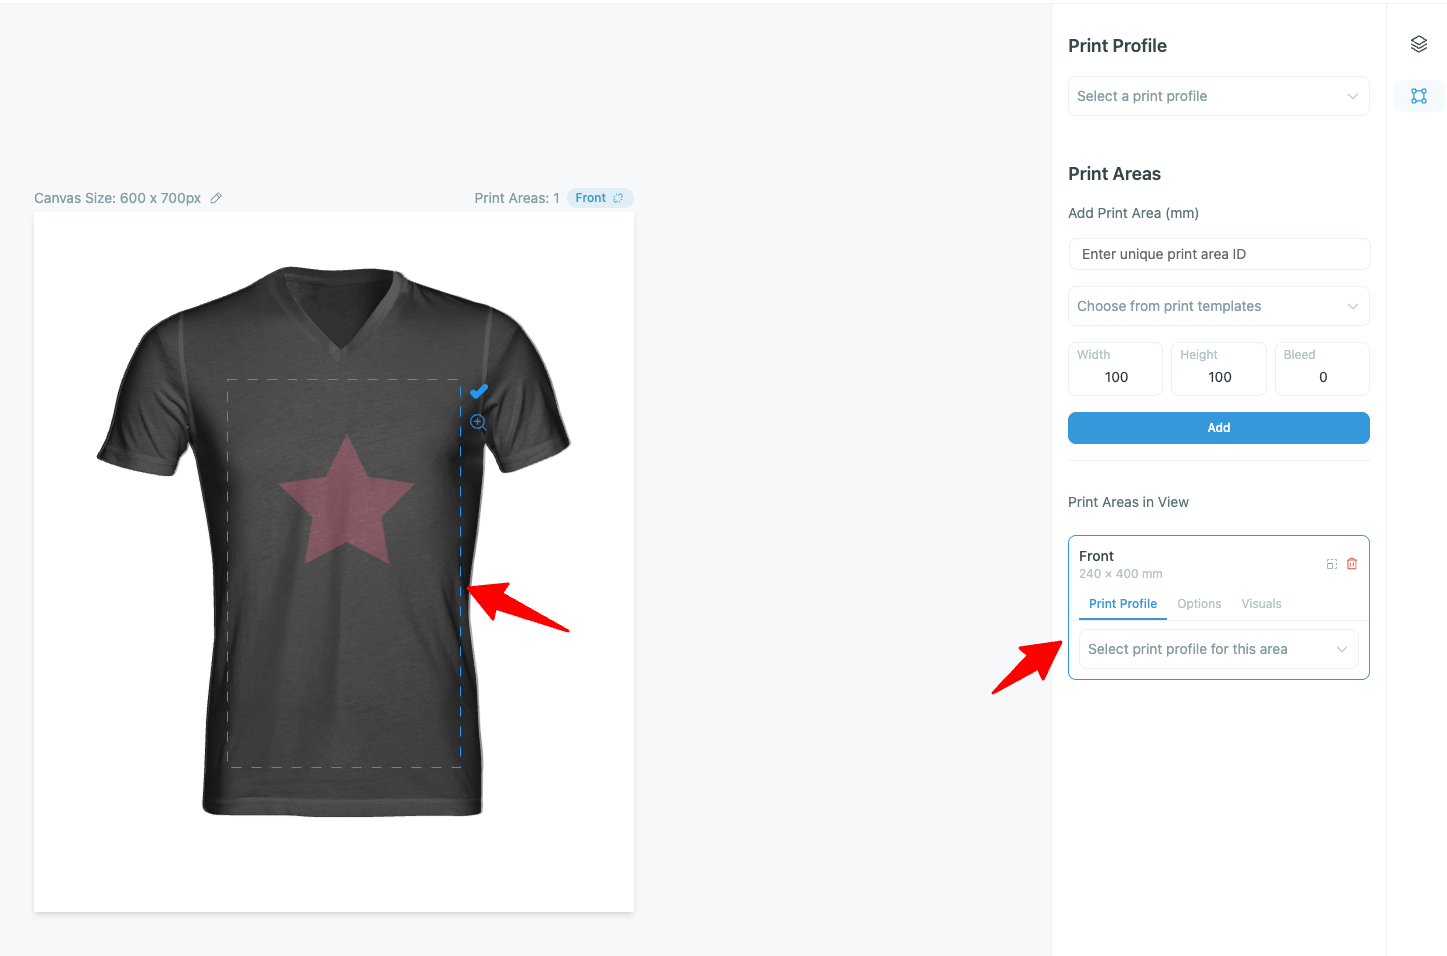
- Under Print Area, click Add Print Area.
- A print area box appears on the canvas. Drag and resize it to cover the printable region of the product.
Configure print area settings
With the print area selected, the settings panel shows these groups of options.
Printing box
The printing box defines where the print area sits on the canvas, in pixels.
- X and Y — position of the top-left corner of the print area relative to the canvas.
- Width and Height — size of the print area in canvas pixels.
Drag the print area on the canvas to reposition it, or type exact pixel values directly.
Output dimensions
Output dimensions tell the export engine the physical size of the print area on the finished product.
- Width (mm) and Height (mm) — the real-world size of the printable region.
These values control how the canvas content is scaled when Chamevo generates a print-ready file. A canvas print area of 500 × 500 px mapped to 150 × 150 mm will produce a 300 DPI export when the file is generated at the correct resolution.