Step-by-step: create a print profile for apparel
Walk through creating a complete print profile for t-shirts and apparel with PNG-only uploads, 300 DPI minimum, and specific graphic categories.
Updated April 28, 20265 min read
This article walks through creating a print profile optimized for t-shirts and apparel. By the end, your apparel products will accept only PNG uploads at 300+ DPI, show only shirt-relevant graphics, and give customers appropriate editing controls.
Before you start
- You have access to your WordPress admin.
- You have at least one apparel product created in Chamevo > Products with a print area defined.
- You have a graphic category for apparel designs (for example, "Shirt Designs"). See Browse and organize your graphics library to create one.
Step 1: Create the profile
- Go to Chamevo > Print Profiles.
- Click Add Profile.
- Enter "Apparel" as the name.
- Click Add.
- Click Edit Profile on the new profile.
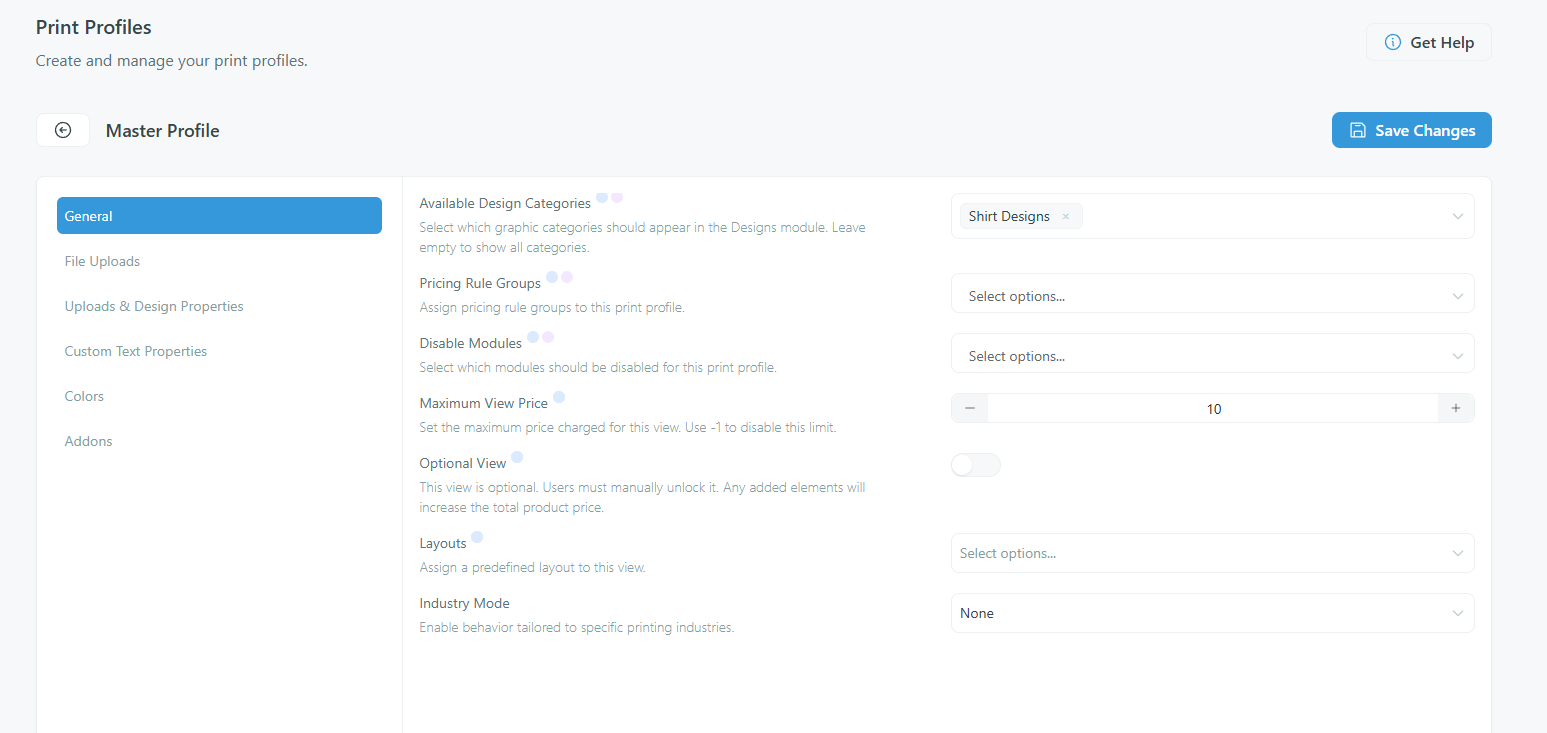
Step 2: Configure General settings
- Open the General tab.
- In Graphic Categories, select your apparel-specific category (for example, "Shirt Designs"). This hides unrelated graphics like business card logos or poster artwork.
- Leave Customization Required at None unless you want customers to add at least one element before checkout.
- Click Save Changes.
Step 3: Restrict file uploads
- Open the File Uploads tab.
- Under Restrictions:
- Allowed File Types — select PNG and SVG only. Deselect JPEG and PDF. PNG supports transparency, which is essential for apparel — the garment color shows through transparent areas.
- Minimum DPI — set to 300. This blocks low-resolution uploads that would look blurry when printed.
- Image Quality Low DPI — set to 200.
- Image Quality Mid DPI — set to 300.
- Image Quality High DPI — set to 600.
- Maximum Image Size (MB) — keep at 10 or reduce to if your server has limited resources.
Related articles
Print-Ready Exports overviewUnderstand how Chamevo generates print-ready files from customer designs, which formats are available, and how files reach your production workflow.Set up print profiles for your production workflowCreate print profiles to control file uploads, element behavior, color options, and module availability across products, views, and print areas.Configure bleed zones and output dimensionsSet up print areas with exact dimensions in millimeters, add bleed zones for trimming, and apply SVG masks for custom shapes.Prepare your setup for print-ready file generationVerify server requirements, fonts, file upload settings, and colorization before generating your first print-ready files.