Set up Multi View Replacement for graphics
Assign different graphic images per product view so each side of the product shows a unique version of the same graphic.
Multi View Replacement lets you assign different versions of a graphic for each product view. When a customer adds a graphic on the first view (e.g., the front of a t-shirt), the second and third views (e.g., back and sleeve) automatically show their own version of that graphic. This is useful when a design needs to look different on each side — for example, a logo that appears large on the front and small on the back.
Before you start
- You have a product with multiple views (front, back, sides, etc.).
- You have graphic categories with uploaded graphics.
- You have the alternative graphic images ready for each view.
How it works
Each graphic in the Graphics admin can have Multi View Replacement entries. Each entry maps a view index to an alternative image. When the customer adds the graphic on the first view, Chamevo automatically places the mapped images on the other views.
View indices start at 1 for the second view, 2 for the third view, and so on. The first view (index 0) uses the original graphic.
Steps
Add replacement images to a graphic
- Go to Chamevo > Graphics in your WordPress admin.
- Navigate to the category that contains your graphic.
- Click Manage Graphics.
- Hover over the graphic card and click the Multi View Replacement icon.
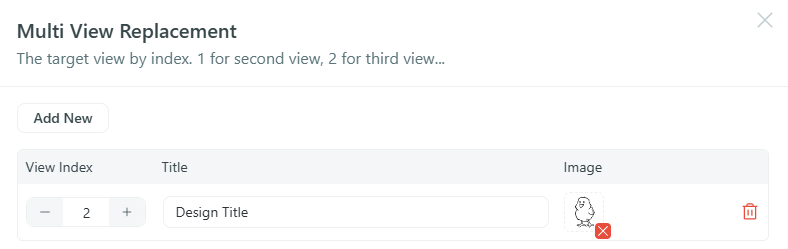
- The Multi View Replacement panel opens.
- Click Add New.
- Configure the replacement entry:
- View Index — enter the target view number. Use 1 for the second view, 2 for the third view, and so on.
- Title — enter a descriptive title for this replacement (for reference only, not shown to customers).
- Image — click the image placeholder to open the WordPress media picker and select the replacement graphic.
- Add more entries if your product has additional views.
- Close the panel. Changes save automatically.
- Click Save Changes on the main graphics page.