Create and manage graphic bundles
Group graphic categories into dedicated modules that appear as separate panels in the product customizer.
Graphic bundles let you group selected graphic categories into their own module in the product customizer. Instead of showing all graphics in a single panel, you can create focused bundles — for example, a "Team Logos" bundle or a "Decorative Borders" bundle — each with its own panel that customers browse separately.
Before you start
- You have graphic categories with uploaded graphics.
- You have access to your WordPress admin.
How it works
A graphic bundle is a named module that contains one or more graphic categories. After creating a bundle, you add it to a product customizer layout using the UI Composer. Customers see each bundle as a separate panel in the interface — just like the default Graphics module, but scoped to specific categories.
You can create multiple bundles and add several to the same product layout.
Steps
Create a graphic bundle
- Go to Chamevo > Graphics in your WordPress admin.
- Click My Graphic Bundles.
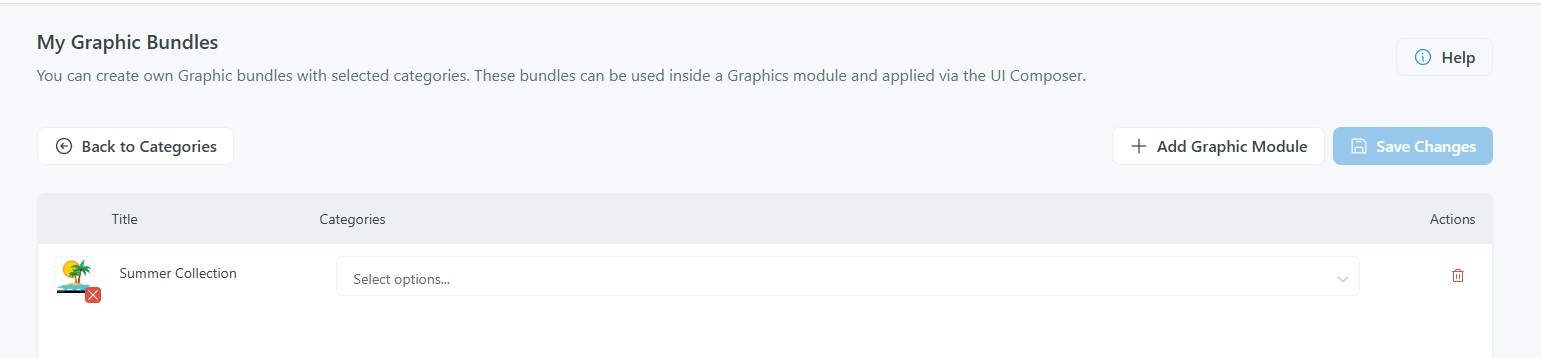
- Click Add Module.
- Enter a name for the bundle (for example, "Team Logos"). This name appears as the module label in the UI Composer.
- The bundle appears in the list. Select which graphic categories to include.
- Click Save Changes.
Add a graphic bundle to the product customizer
After creating a bundle, add it to a customizer layout:
- Go to Chamevo > UI Composer in your WordPress admin.
- Open the layout you want to edit (or create a new one).
- Find the Modules section.
- Drag the graphic bundle from the available modules into the Selected Modules area.
- Click Save.
The bundle now appears as its own panel in the product customizer for products that use this layout.