Browse and organize your graphics library
Create graphic categories, upload images, browse the built-in library, and configure per-graphic options.
Updated April 28, 20265 min read
The Graphics page lets you organize images into categories that customers browse in the product customizer. You can upload your own graphics, pull from the built-in Graphics Library, and configure options per graphic or per category.
Before you start
- You have access to your WordPress admin.
- You have graphic files ready to upload (PNG, JPEG, or SVG).
Steps
Create a category
- Go to Chamevo > Graphics in your WordPress admin.
- Click Add New Category.
- Enter a category title (for example, "Logos" or "Patterns").
- The category appears in the table.
Categories organize graphics into browsable groups in the product customizer. Customers see these category names when browsing available graphics.
Create subcategories
- Find the parent category in the table.
- Click the Add Sub-Category icon (folder-plus icon).
- Enter a title for the subcategory.
You can nest categories up to 4 levels deep. Subcategories help organize large libraries — for example, "Animals > Dogs > Breeds."
Upload graphics to a category
- Click Manage Graphics on the category you want to add images to.
- Click Add Graphics.
- Select one or more image files from the WordPress media picker.
- Click Save Changes.
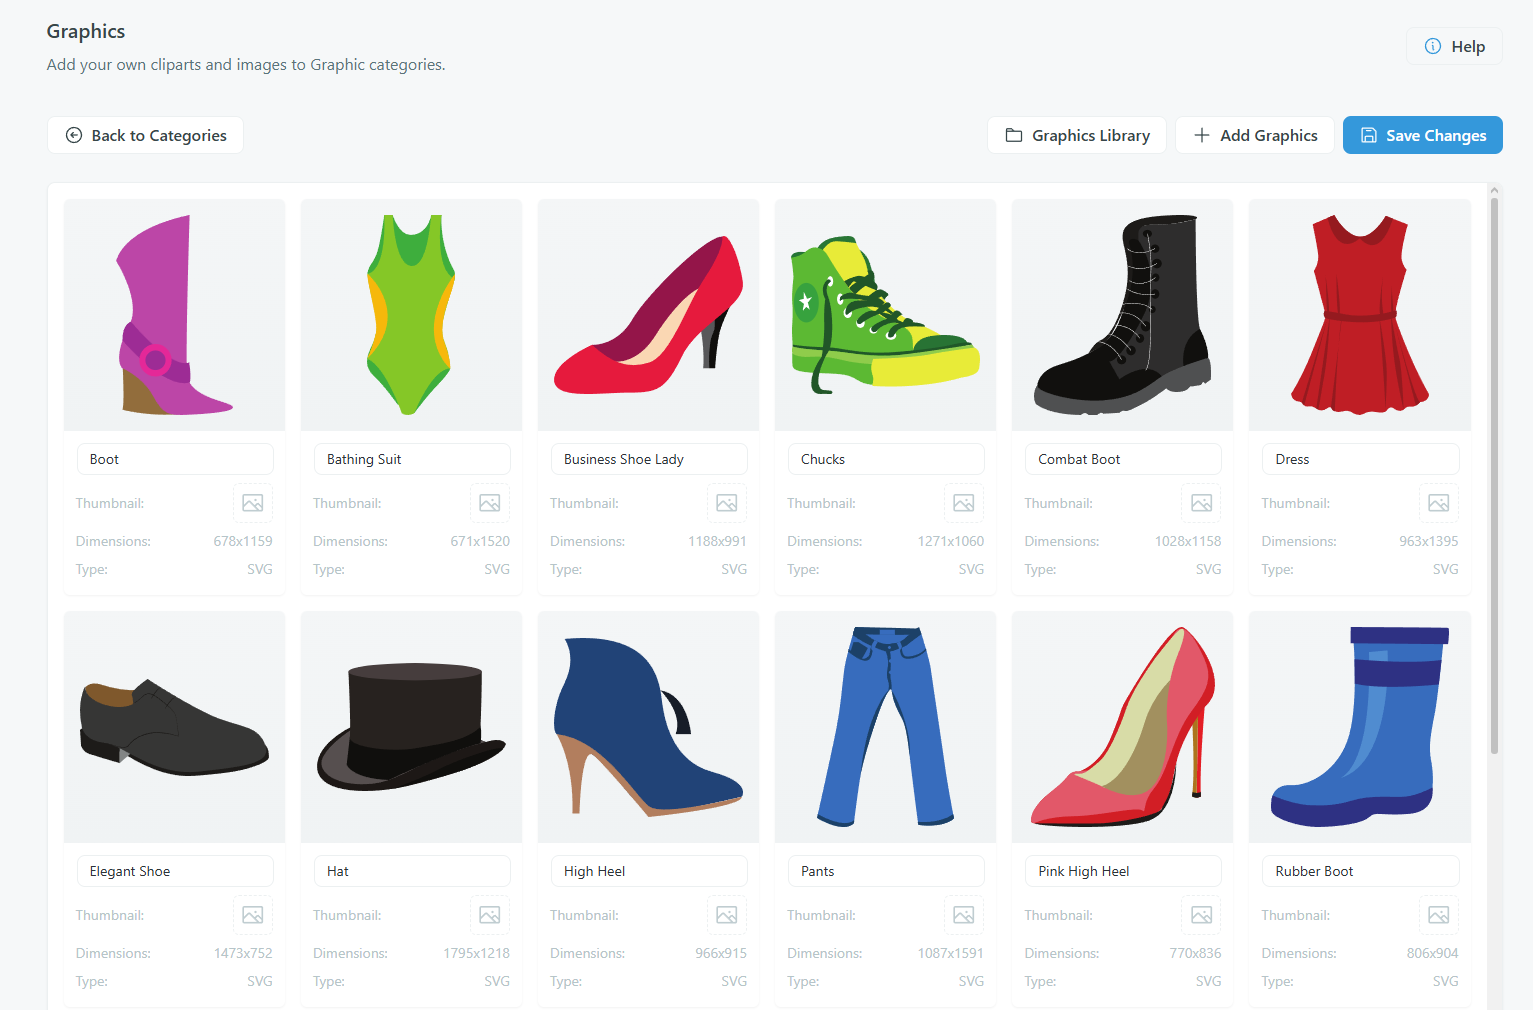
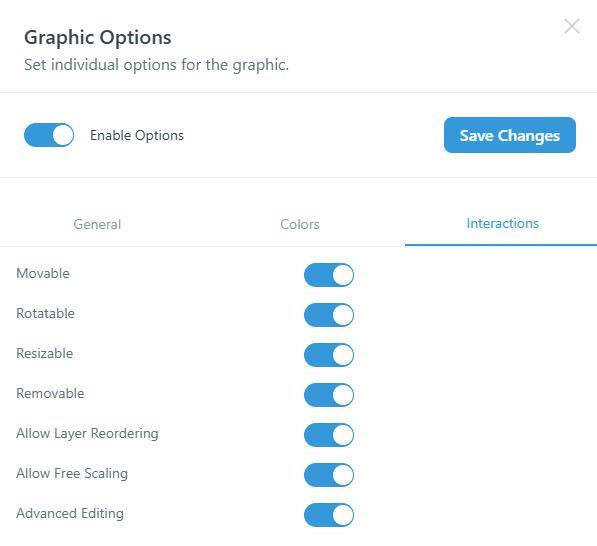
Each graphic card shows a preview, title, dimensions, and file type. You can edit the title inline by clicking it.
Add graphics from the built-in library
- From the category designs view, click Graphics Library.
- Browse or search for graphics using the Search for graphics field.
- Select the graphics you want. Use Select/Deselect All to toggle all visible items.
- Click Add to import them into the current category.
Related articles
Manage your fonts collectionAdd Google Fonts or upload custom TTF fonts so customers can use them in the product customizer.Create and manage graphic bundlesGroup graphic categories into dedicated modules that appear as separate panels in the product customizer.Configure color palettesSet up color names, color prices, reusable color lists, and color picker presets for the product customizer.Create text templatesBuild preset text snippets with fonts, sizes, and alignment that customers can add to their designs with one click.