Process customer image uploads in print profiles
Auto-scale customer-uploaded images in a print profile, and find where automatic filters and image editing tools now live.
The File Uploads tab in a print profile controls how customer-uploaded images are handled before they land on the canvas. Its main job is automatic scaling — making sure an uploaded photo fits the print area at a sensible size.
Filters and on-demand image editing live in their own places, which this article also points you to.
Before you start
- You have access to your WordPress admin.
- You understand the difference between the Master Print Profile and custom profiles.
Auto-scale uploaded images
Scaling keeps large photos from covering the whole canvas and small photos from looking lost in the print area.
- Go to Chamevo → Print Profiles.
- Edit the Master Print Profile or a custom profile.
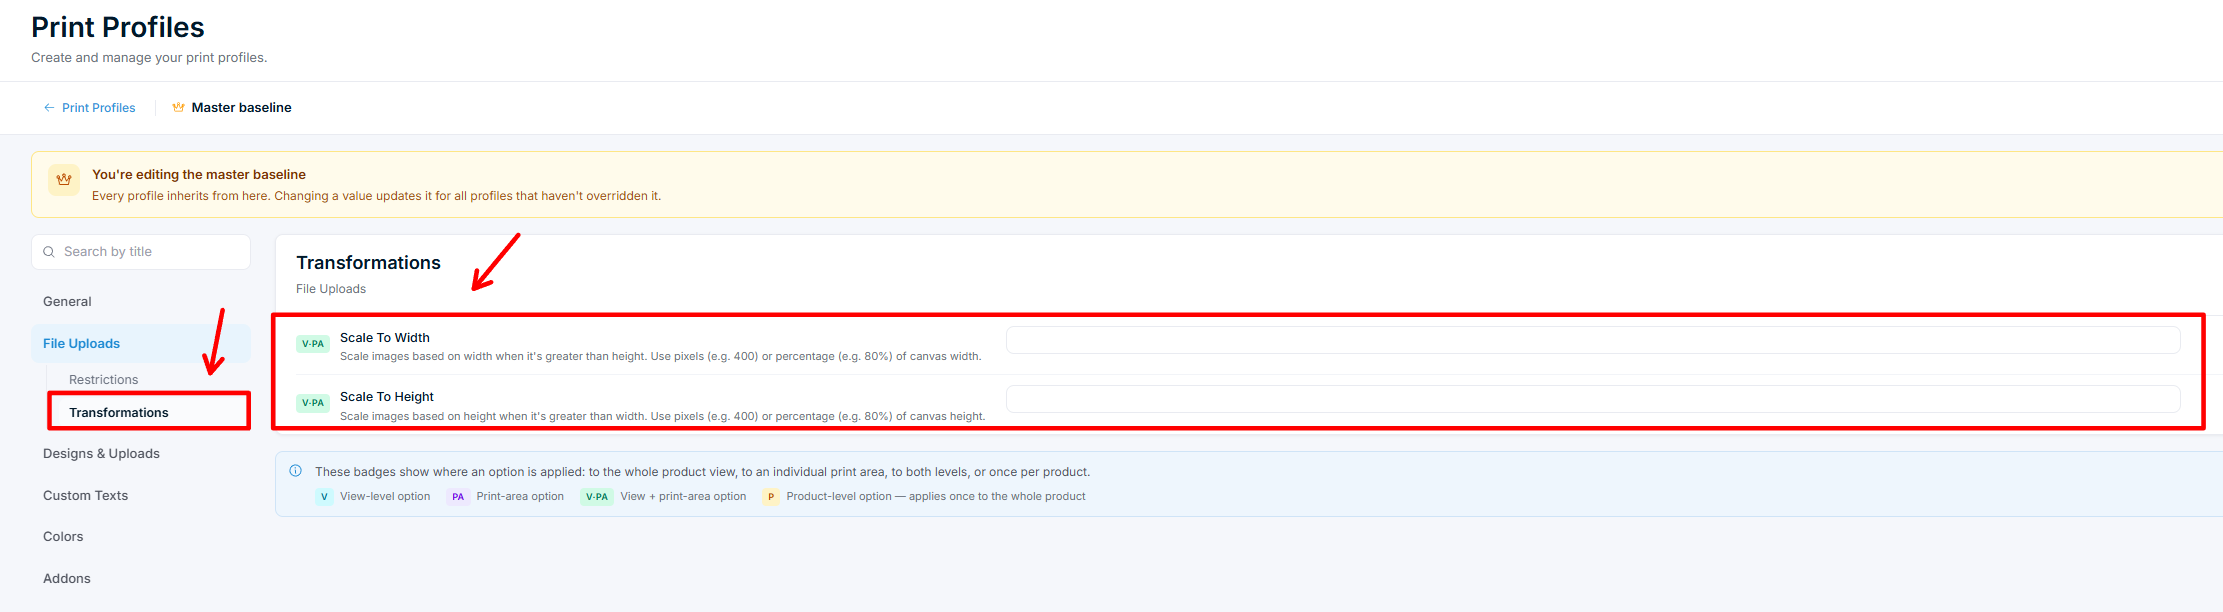
- Open the File Uploads tab.
- Find the Transformations section.
- Set one of these:
- Scale To Width — scales the image by width when it is wider than it is tall. Enter pixels (e.g.
400) or a percentage of the canvas width (e.g.80%). - Scale To Height — scales the image by height when it is taller than it is wide. Enter pixels or a percentage of the canvas height.
- Scale To Width — scales the image by width when it is wider than it is tall. Enter pixels (e.g.
- Click Save Changes.
Leave both at 0 to add uploads at their original size.
Apply a filter to every upload
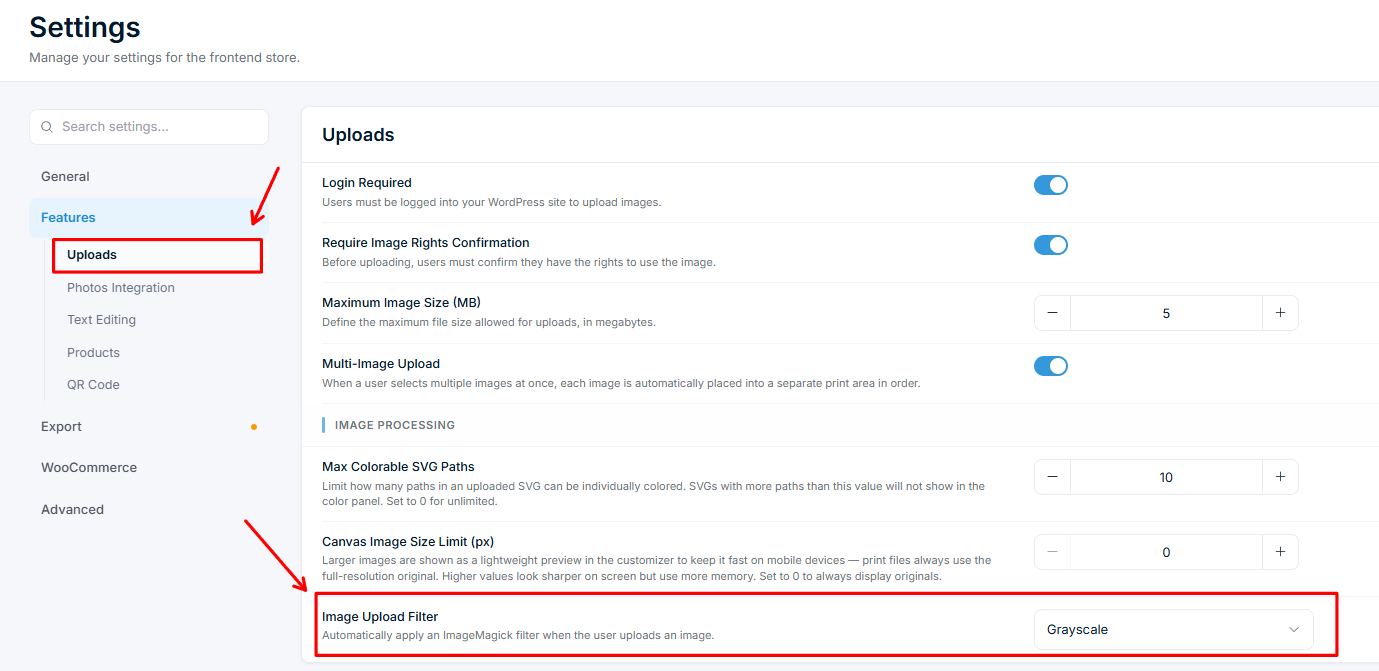
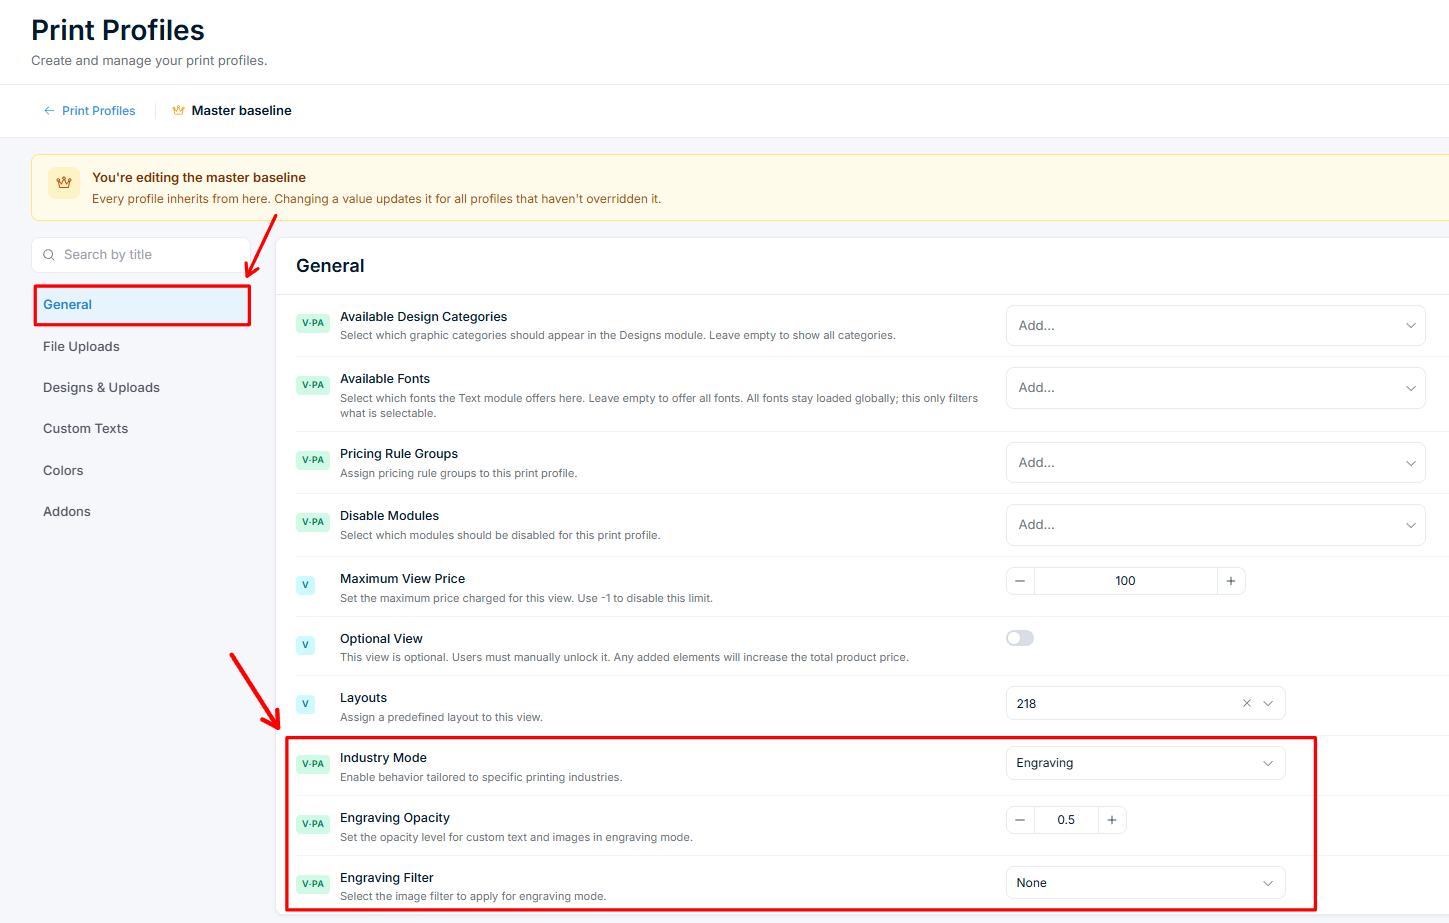
To convert all customer uploads to a single style — for example, grayscale for engraving or single-color printing — use the global Image Upload Filter.
- Go to Chamevo → Settings → Features → Uploads.
- Set Image Upload Filter to Grayscale, Black & White, Threshold, or Threshold Negative.
- Click Save Changes.
This applies to every uploaded image across your store. For full details, see apply a filter to every customer upload.