Configure 3D preview placement and display mode
Choose where and how the 3D preview appears on your product page, including overlay, panel, external, and shortcode placements.
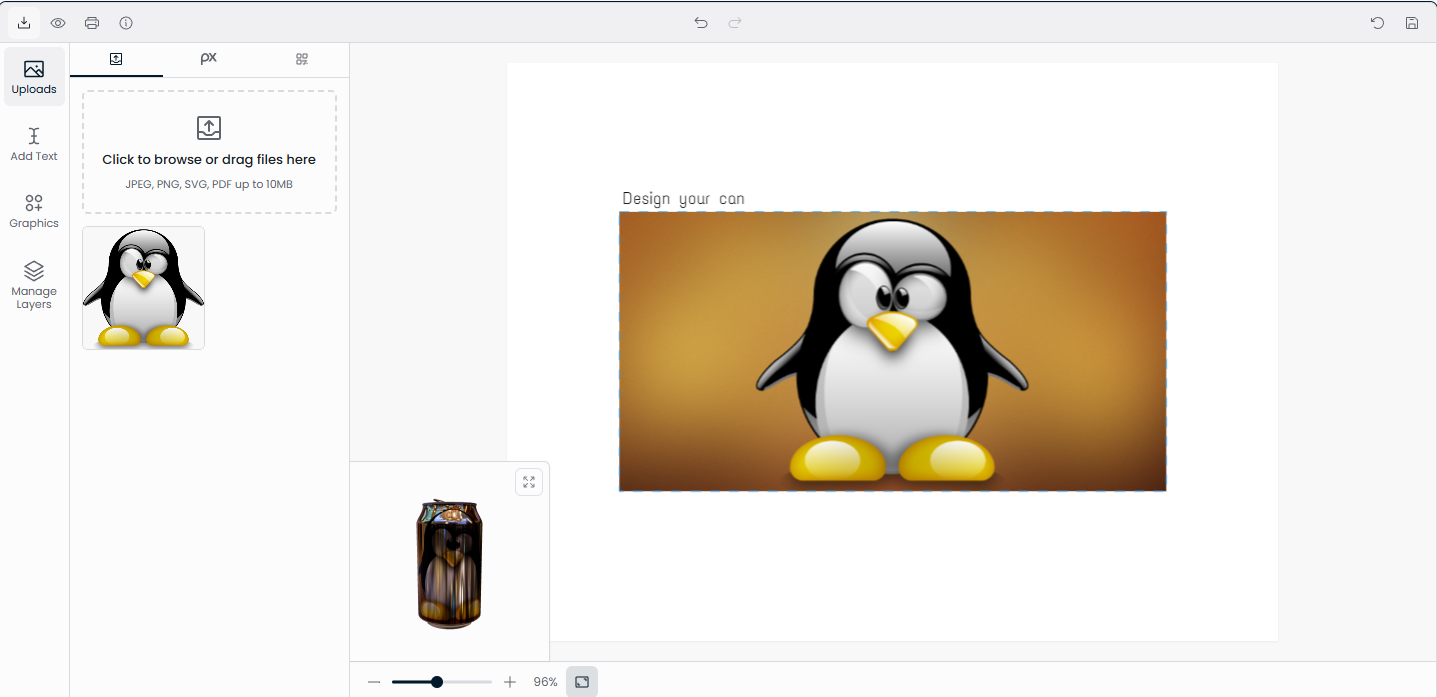
The 3D preview can appear in several positions on your product page. The placement you choose affects how customers interact with the 3D model and how much screen space it uses. This guide covers all placement options and when to use each one.
Before you start
- A 3D model must be installed and assigned to your product. See Set up your first 3D product model.
- You need access to Chamevo → Settings in your WordPress admin.
Placement options
Go to Chamevo → Settings, navigate to the Addons tab, then the 3D Preview section. The 3D Preview Placement dropdown offers six options.
Inside Product Designer (Overlay)
The 3D preview appears as a compact preview in the bottom-left corner of the designer canvas area. Customers click an expand icon to enlarge it to full canvas size, and click again to collapse it back.
Best for: Products where the 2D design canvas is the primary interaction. The 3D preview is secondary — available when customers want it, but not competing for screen space.
How it works: The 3D preview renders inside the designer component. No additional HTML element is needed on the page.
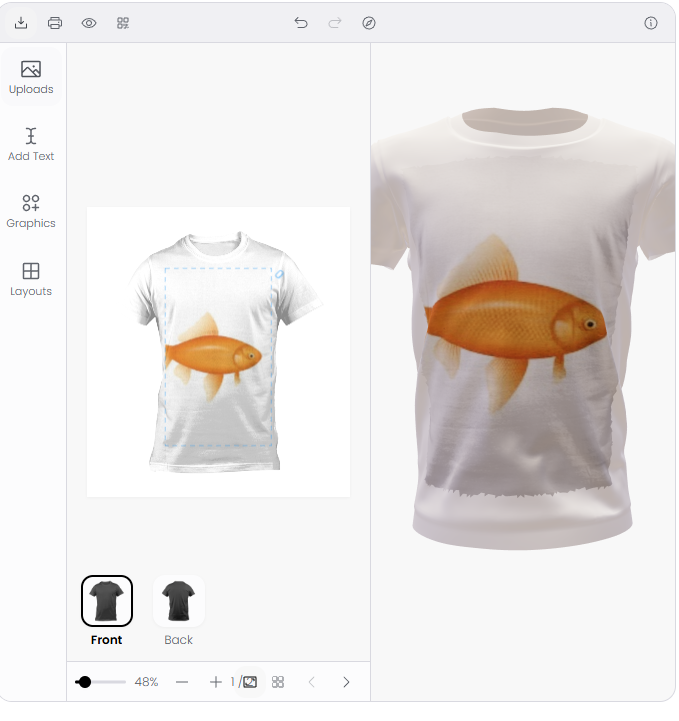
Inside Product Designer (Panel)
The 3D preview appears as a side panel next to the design canvas inside the designer. Both the canvas and the 3D model are visible simultaneously.
Best for: Products where seeing the 3D result while editing is important. Works well on desktop with enough horizontal space. On mobile, the panel stacks below the canvas.
How it works: The 3D preview renders inside the designer component as a panel. No additional HTML element is needed on the page.
Before Product Designer
The 3D preview appears as a full-width block above the product customizer on the page.
Best for: Making the 3D model the first thing customers see when they open the product page. Puts emphasis on the realistic preview before customers start editing.