Set up your first 3D product model
Install a prebuilt 3D model from the 3D Models Manager, assign it to a product, and verify the 3D preview works on the frontend.
Updated April 28, 20265 min read
This guide walks you through installing a prebuilt 3D model and assigning it to a product. By the end, your customers will see an interactive 3D preview of their customized design.
Before you start
- Your plan must be Growth or higher. 3D Visualization is not available on Starter.
- You need at least one product created in Chamevo → Products.
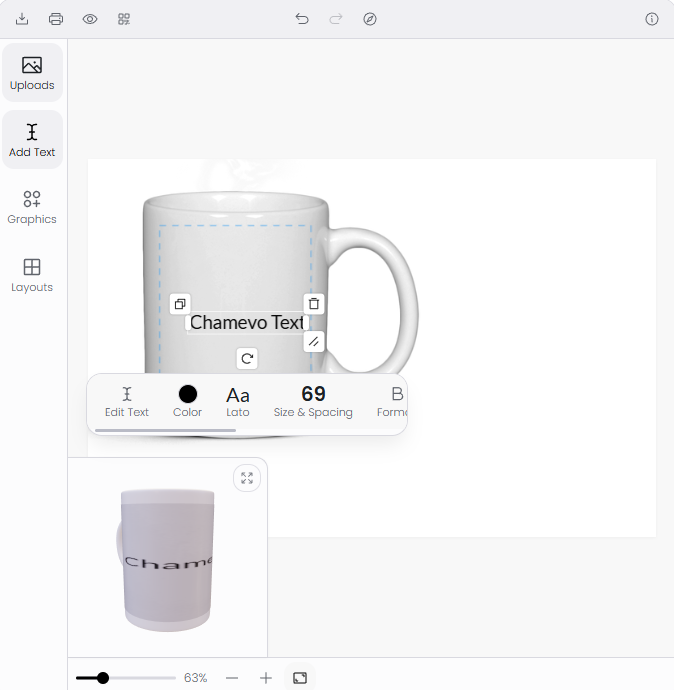
- The product should have a view with a print area defined. The 3D preview maps the print area content onto the model surface.
Step 1: Install a 3D model
- Go to Chamevo → Utilities in your WordPress admin.
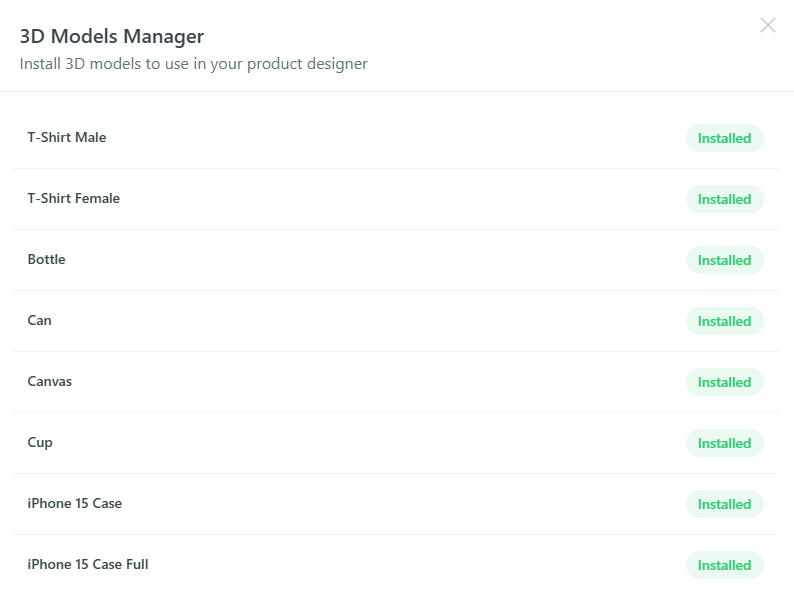
- In the Tools section, find Install 3D Models and click Open 3D Models Manager.
- The manager shows available prebuilt models. Each model displays its name and a preview.
- Click Install next to the model you want. The model files download and install automatically.
- Once installed, the model shows an Installed badge.
The installed model files are stored in wp-content/uploads/chamevo/3d_models/[model-name]/. Each model folder contains three files:
model.fbx— the 3D geometry.environment_map.hdr— the lighting environment.config.json— model settings (name, print area, material properties).
Step 2: Assign the model to a product
- Go to Chamevo → Products and open the product you want to add 3D preview to.
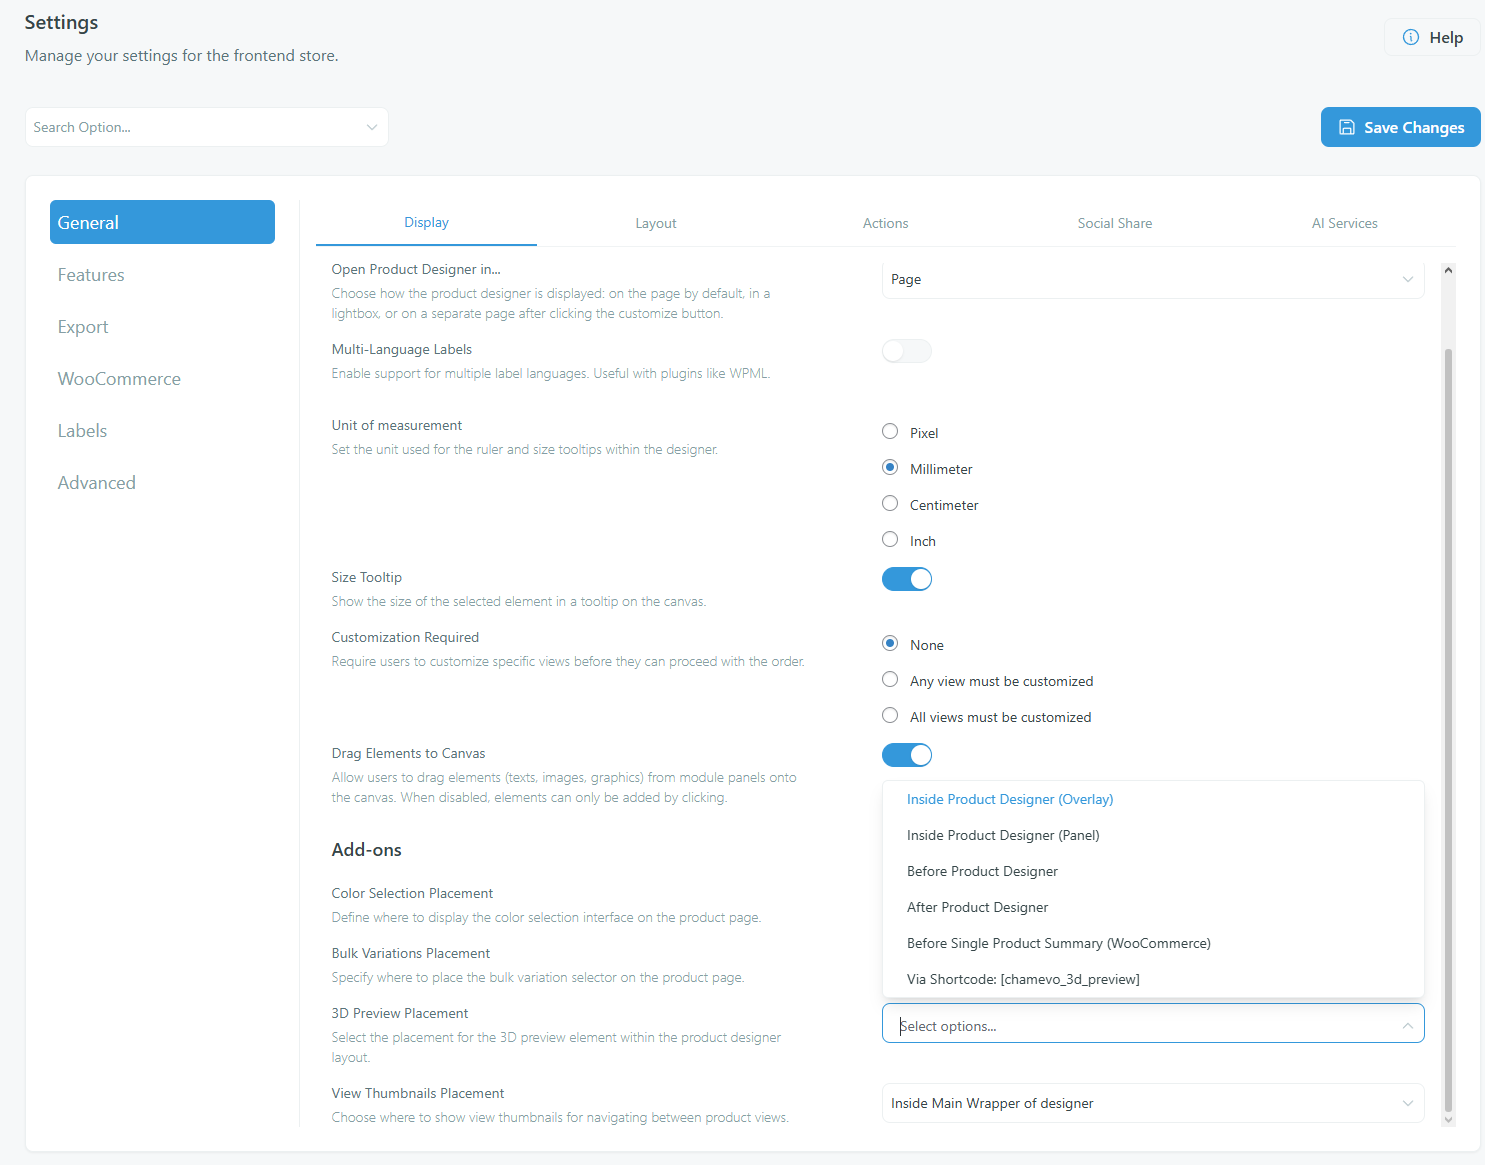
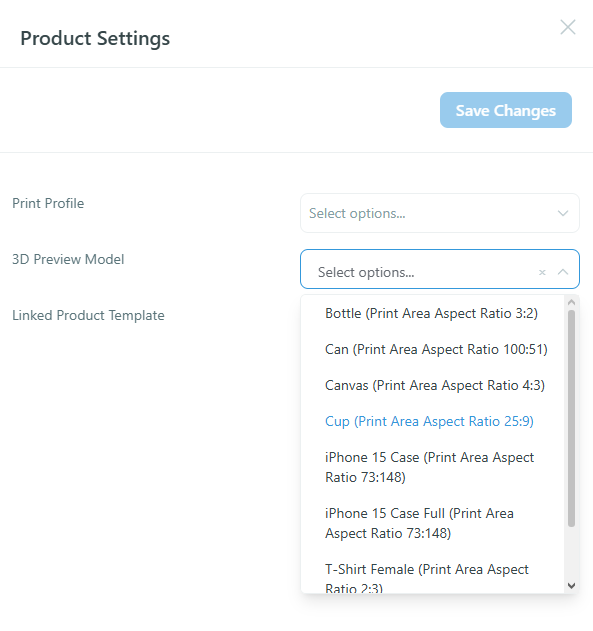
- In the product options, find the 3D Preview Model dropdown.
- Select the model you installed. The dropdown shows all installed models with their print area aspect ratio (for example, "Mug (Print Area Aspect Ratio 3:2)").
- Save the product.
Step 3: Match the print area aspect ratio
Related articles
3D Visualization overviewLearn how 3D Visualization lets customers rotate, zoom, and inspect their customized designs on realistic product models in real time.Prepare FBX models and environment mapsCreate custom 3D models for Chamevo products, including FBX export, environment map setup, config.json structure, and mesh naming conventions.Configure 3D preview placement and display modeChoose where and how the 3D preview appears on your product page, including overlay, panel, external, and shortcode placements.3D Visualization best practices for conversionOptimize your 3D product previews for faster loading, better customer experience, and higher conversion rates.